Saturday, November 28, 2015

How I Paint My Nails


I have also had several requests to know how I paint my nails. I have learned everything I know from watching videos myself and trial and error. This tutorial I made is the way that works best for me, and it's pretty simple.

Once upon I time I wasn't that great of a nail painter. After a lot of practicing and following certain steps, I have improved SO much. I still have moments where I am sloppy, but that's okay :)! It's so easy to just clean it up. I hope you watch this video and are inspired to paint your nails! You can go polished too! It just takes a little patience and practice.

Here is a picture of products I am currently enjoying, of coarse as I try out more products they can change.


Base CoatORLY Bonder is my favorite base coat right now. There are still others I want to try though. It has a rubbery consistency, which I think helps hold the polish to your nail.

Strengthener (optional): I use OPI Nail Envy as a base coat (instead of ORLY Bonder) if I feel like my nails are peeling more than usual. In that case I will use if for a few weeks at a time. Technically it is not a base coat, but it works great and gives my nails that extra boost they need sometimes. Amazon always has the best price for this, around $10 a bottle. In the store it is about $20 a bottle.

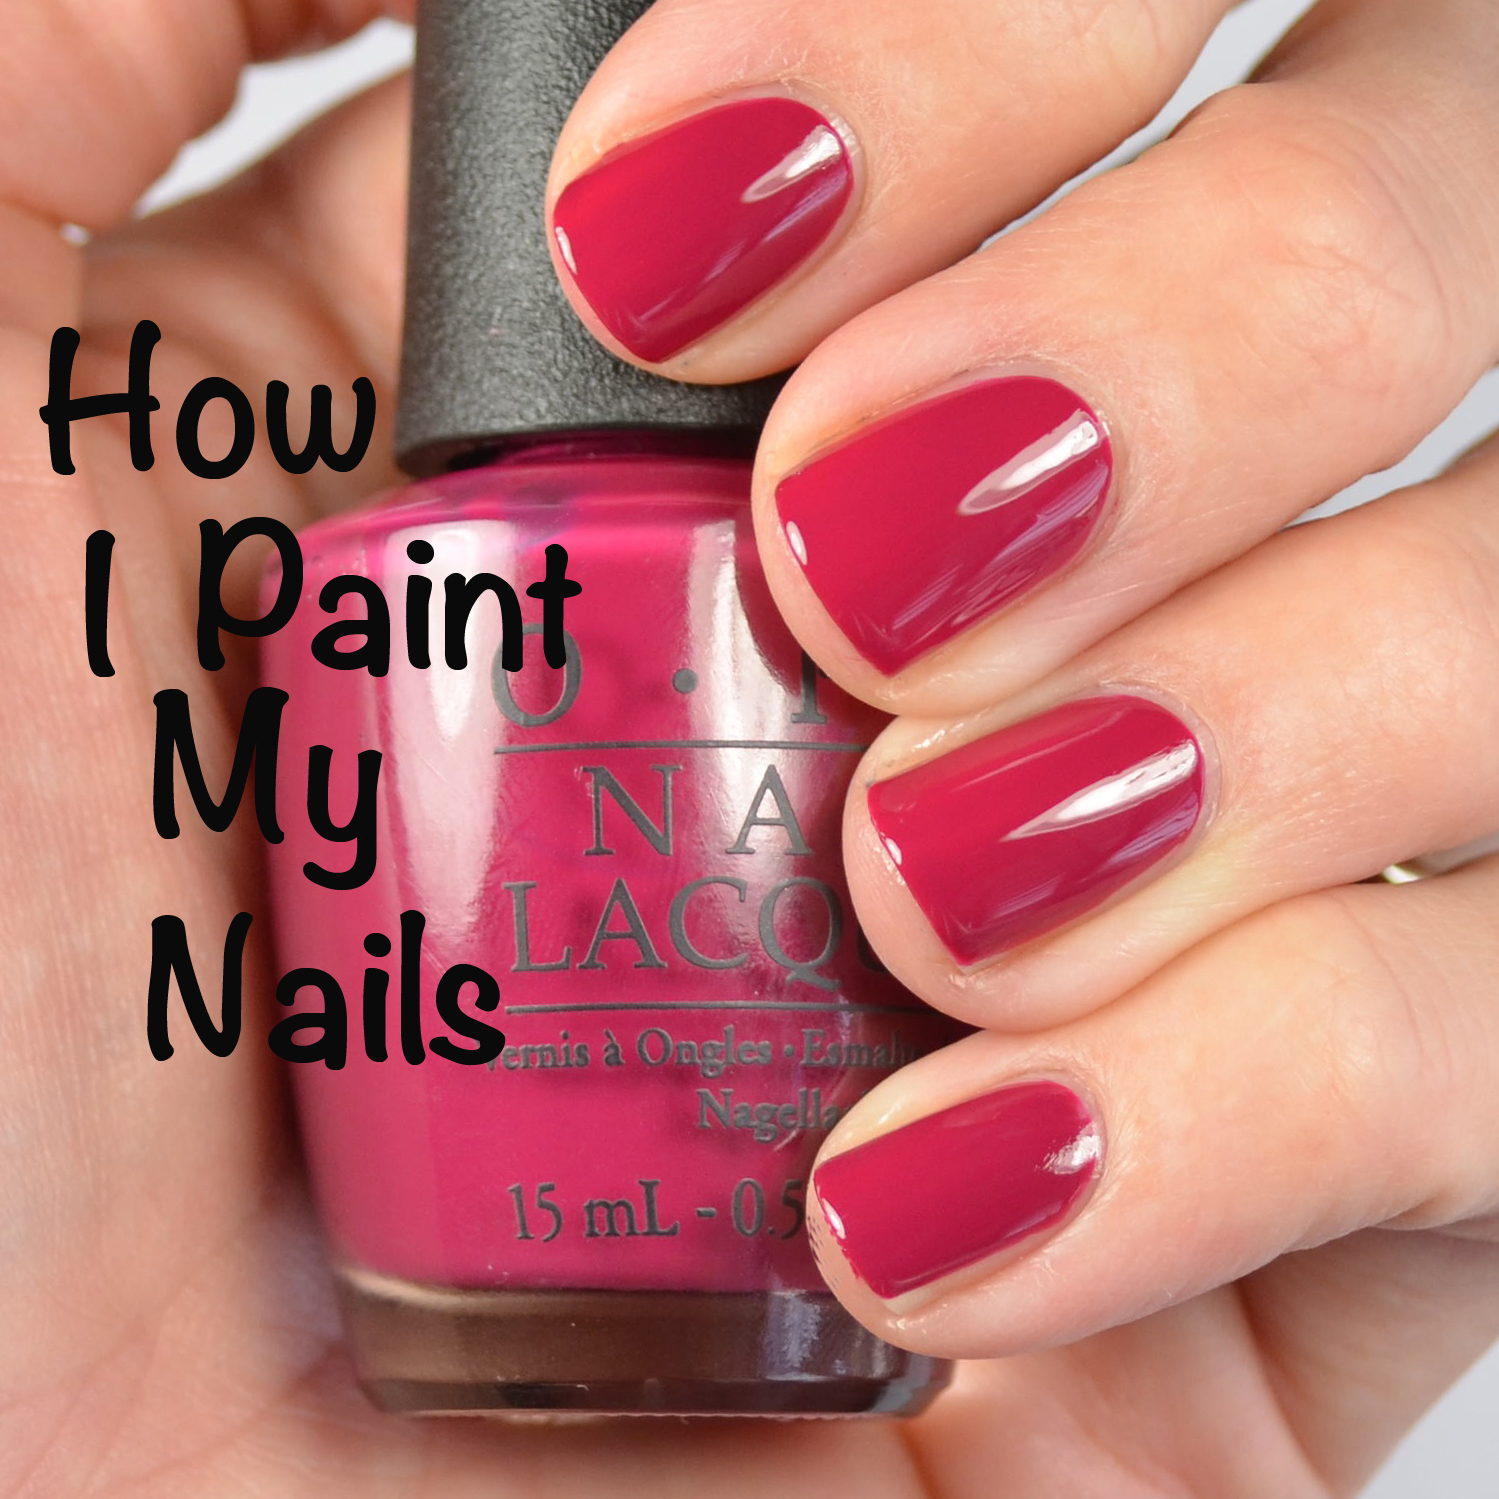
Nail Polish: OPI Miami Beet was my nail polish of choice for this tutorial. It's been a favorite of mine for a long time! It is a polish that has excellent formula and is a color that works for any season!
Pure Acetone: I use this for clean-up. You can also use nail polish remover, but I feel like this makes the process so much easier.

Clean-up Brush: I am sure you know by now that I love the Sonia Kashuk no 105 smudge brush for clean-up. I do want to try other brushes. Hopefully I can do that soon, but this one does the job and has a pretty good price tag. You can purchase this at Target.

Top Coat: I am testing out a bunch of top coats right now, but I have been using HK Girl Top Coat for months and I LOVE it!

CND Solar Oil: Because acetone is so drying I like to use this to replenish the oils around my nail bed. I apply this every time I paint my nails.

E.L.F. Angle Brush: Using this angled brush helps me to have control. When I apply the oil after I paint my nails, they usually aren't completely dry, so I like to use this angled brush for more control.

If you decide you like any of the items I list below you might want to drop a hint to your significant other ;). They would make great stocking stuffers. Or, you can do what I do and just stuff your own stocking! Ha!

Click on the link below for the tutorial:


Please remember to subscribe to my YouTube Channel and give me a thumbs up if you found this tutorial helpful!


-Go Polished

Monday, November 23, 2015

Thanksgiving Turkey Accent Nail

Thanksgiving is one of may favorite holidays! I can't wait to eat delicious food while reflecting on the things I am so grateful for! I thought it might be fun to do a turkey nail tutorial. I know it's super unoriginal, but it's cute and holiday appropriate :).

The supplies and links are listed below:


Base coat: ORLY Bonder
Dark brown polish: OPI How Great Is Your Dane?
Orange polish: OPI It's a Piazza Cake
Light brown polish: Zoya Chanelle
Red polish: Essie With The Band
White polish: OPI Alpine Snow
Black polish: OPI Black Onyx
Top coat: HK Girl
Detail brush: What's Up Nails Detail brush #1
Dotting Tools (Not pictured)
Clean up brush: Sonia Kashuk No. 105 smudge brush
Pure Acetone
Small container for acetone

Below is the link for the tutorial, be sure to subscribe to my Youtube channel and give me a thumbs up!


Happy Thanksgiving!!
-Go Polished


Friday, November 20, 2015

My Nail Care Routine Tutorial


I have had several requests for a nail care routine, so I made one :). First, I want everyone to know that painting and caring for my nails is a hobby. I am not a professional and I don't claim to be one. Everything I do is based on trial and error for me personally, but I hope you will find some of these methods and tips helpful for you. Make sure to give my video a thumbs up after you watch it please-it will really help me out!

Also, I like my nails short, so I file them about every other time I paint my nails. So that ends up being about once a week. I do this entire routine about once every two to three weeks.

Here are the supplies I used in my tutorial:

PRODUCTS USED:
ZOYA Nail Polish Remover: This is the best nail polish remover I have ever used. I don't buy it all the time, but most of the time. You can buy this on Zoya.com, Amazon or Ulta. If I do buy a generic brand from Target or Walmart, I always buy the one that is moisturizing. 
Cotton Rounds: I prefer these over cotton balls. :)
Dr. G's Antimicrobial Callus and Cuticle Remover: I really love this cuticle remover! It's such a huge bottle, and has lasted for a long time, so I haven't really tried any other brands. I have heard that the Sally Hansen brand remover is good too. I bought this one at Sally's Beauty Supply, but you can also get it on Amazon (link above).
Tweezerman: My most favorite cuticle pusher. I have tried several. This one works best for me. :)
Nail Tek Crystal Nail File: I mostly use a crystal nail file. Sometimes I use nicer regular nail files, but I find that I get less nail peeling if I use a crystal file. 
Buffer Block: I think any brand of this will do. I like to use the buffer to smooth out the edges of my nails. I also buff the tops of my nails about once a month.
CND Solar Oil: I have tried several cuticle oils, this one is my favorite, and it smells SO good! I apply this carefully after each manicure. Using acetone for clean up is very drying and this helps a lot. I also use it as part of my nail care routine which you will see in the video tutorial below.

Click on the link below to see my nail care routine! I would love some feedback, and let me know if you have any questions about my methods or the products. :)


-Go Polished


Thursday, November 19, 2015

Proclaiming my love for Aquaphor

I am going to take a minute here and tell you about my most favorite product for my nails-Aquaphor! 


I have loved this product for over 10 years. I use it for so many different things. I have only been using it on my nails and the skin around my nails for about 3 years.

Let me tell you how I first fell in love with this product. Several years ago I used to be a habitual lip bitter/ lip peeler-gross I know, but it's the truth. I tried SO many different lip balms and chapsticks, even vaseline, and nothing worked. Finally my friend gave me a little sample bottle of Aquaphor. I applied it to my lips 3-4 times a day and every night when I went to bed. I made sure to not pick my lips and was determined to stop this bad habit. Who likes to talk to people when they have dried cracked lips?! It was embarrassing at times. Within a few weeks my lips were healed and no longer cracked or peeled. So, there wasn't a need to do any picking so...I didn't. Habit gone! Seriously...gone! So that's how I first fell in love with Aquaphor. :)

I have always been into nail polish, but three years ago I really started to enjoy painting my nails often and looking online for fun new colors. I knew I needed to do something for my nails I had been neglecting. Ugh, I guess that leads me to reveal another bad habit (please tell me I am not alone people)-nail peeling and skin picking around my nails. Not to the point of my fingers being red and sore all the time, just enough to know that I didn't have nice nails and I figured I probably never would. I started with just applying Aquaphor to my nails and cuticles every morning and night. They started to heal and once again I stopped picking! Now I have Aquaphor on my nightstand, in my car, in my purse, and in my kitchen. I will never stop using it. I apply it to my lips and nails (and heels, elbows and baby bums)- All. The. Time. (Especially in the winter).

There are other things I did to take care of my nails as well, like wearing gloves when cleaning my house (4 kids=lots of cleaning), wearing nice thick gloves while working in the yard (one of my favorite things to do), never using my nails as tools, and keeping them painted to prevent nail peeling. All these things combined helped me so much!

While my nails aren't perfect, they are SO much better! They still tend to peel in thin layers at times, although not as much as they did. I have come to realize they always will, it's just in my genes, and that's okay, because I discovered that I can have nails that look nice if I just give them a little extra care and keep them painted. Best discovery ever! This might sound silly, but there is just something wonderful about having pretty colors on your nails. Am I right?!

So, if you are struggling with any of these habits or problems, give this product a try, and let me know how it goes. Even if you don't have any of these problems, I feel like my cuticles are so much softer and easier to push back.

*This post is not sponsored. I bought this product with my own money. All opinions are my own. :)

-Go Polished


Friday, November 13, 2015

My #12 favorite fall polish for 2015...


With The Band was part of the Essie Fall Collection Leggy Legend that was released this year. It is a red polish that leans a little orange. The formula is very thick and creamy. You just need to make sure you don't load your brush up too much with this one. What's great about the thick formula though is that it makes it a OCW (One Coat Wonder)!


 This swatch of With The Band is one thick coat! I usually like to do two coats anyway, but with this one, if I did it would be too thick!


Above are some Essie polishes in my collection that are similar to With The Band, but not at all dupes. Double Breasted Jacket and She's Pampered (my most favorite red ever) lean more pink. Fishnet Stockings is more of a deep true blue toned red. Since With The Band is more orange I love it for Fall!!

I have been wearing so much plaid this year! Seriously, I wear it almost every day. There are several plaid designs I will be trying over the next few months, but I knew I wanted to start with the Buffalo Check. Probably my favorite plaid pattern. It's not perfect, but I still love it!


Click on the link below for my full length tutorial, you can go polished too!

*If you try any of these nail designs, use #gopolishednails in Instagram so I can see your designs!

-Go Polished

Wednesday, November 11, 2015

My #11 favorite fall polish for 2015...


Zoya describes Payton as a full-coverage, galactic cranberry with holographic glitter. Couldn't have said it better myself ;). If you aren't a fan of glitter and are ready to pass this up...don't. I am not a huge glitter fan, but there is something magical about these holo Zoya polishes. The moment you put them on your finger tips you will fall in love. Seriously though, you need to give these a try!


The swatch above is one thick coat. You really have to get a good thick coat though if you want to have it be opaque, or you can just do two thinner coats. Such a beautiful color for fall. What do you guys think? Do you love it!

I don't have any comparisons for this polish because, well...there isn't any polishes that compare. You just need this one. :)

You can buy Zoya polish on their website zoya.com for $9. Amazon and Ulta also have select colors available. 


I knew I wanted to do a fairly simple design with this polish just because it is such a stand out by itself. Doing a design with negative space seemed appropriate, and I decided a nice soft pink would work well with Payton's cranberry tone. The pink I used is Essie Romper Room. So pretty!!

Click on the link below for the full length tutorial!


*If you recreate this design use #gopolishednails in Instagram so I can see your designs!


-Go Polished

Saturday, November 7, 2015

My #10 Favorite Fall Polish for 2015...


I have tried several navy polishes and I always seem to go back to this one. Some are too metallic and some are so dark they look black. When I am in the mood for navy I want a creamy one that looks navy in any light and one that has a slight dusty tone. This polish is all of those things. 


Not to mention it is a one coater! I always like to apply two though. The swatch above is just one coat. First Mate is a thick polish that applies so nicely and doesn't flood your cuticles. It's one of those colors that doesn't look all that exciting in the bottle but, when you swatch it you are like..."Dang, now that's a pretty color". Warning: if you wear this polish you will stare at your nails all day long. :) 


Essie Bobbing for Baubles is a pretty deep grayed out dusty blue which looks much darker when on the nails. OPI I Saw, You Saw, We Saw, Warsaw is not quite a true blue, is much darker and less creamy than First Mate. I love all of these polishes but, when I really just want a straight up navy polish I always grab First Mate.


I love this quatrefoil design! It truly looks like a stencil but, you might be surprised to find that I created this design using only dotting tools. It really is so simple! Anyone can do it with a little practice. (By the way, I always practice new designs on paper or a paper plate before attempting them on my finger nails).


Click on the link below for the full length, easy to follow tutorial. Please make sure to give me thumbs up and subscribe to my channel. It would really help a girl out. :)

Nail Tutorial: Quatrefoil Nail Design
*If you recreate this design by following my tutorial, please use #gopolishednails in Instagram so I can see your nails!


-Go Polished


Wednesday, November 4, 2015

My #9 Favorite Fall Polish for 2015...


Purple Palazzo Pants was released this fall in the OPI Venice Collection. It has just the right balance of pink and purple. In low light it appears more purple and in brighter light it can appear more pink. While it might not be your "traditional" color for this time of year, I personally think it is just dusky enough to make it perfect for Fall. 


The formula is fantastic and is opaque in two thick coats or three thin coats. Depending on how heavy handed you are. It applies so nice and even. This swatch above is three coats. Gorgeous!


I originally thought it would be almost an exact dupe for either OPI Lucky Lucky Lavender or Essie Warm & Toasty Turtleneck, but as you can tell from the photo above, it isn't. Compared to Essie Go Ginza, Purple Palazzo Pants is much darker and slightly more purple. This definitely makes my purchase justifiable for sure. ;). Haha.


 The moment I saw this polish I knew I wanted to pair it with a deep plum purple! I decided on doing some half moons of OPI We'll Always Have Paris the base of the nails. I really love this color combination. What do you think?

Click on the link below for a full length tutorial for this look on my YouTube channel!


-Go Polished